GT Form Transporter
When importing a form via the Form Transporter, any shared objects (such as visual ifs, segments, etc.) that are no longer referenced in the form’s configuration will be deleted in the target environment.
In 3.70.00, GT delivered two view definitions that allow for identification of visual ifs and segments that are shared between different form types. The following SQL queries can be run to identify shared objects:
SELECT * FROM PS_G3SHARE_VISF_VW WHERE G3FORM_TYPE = 'form type';SELECT * FROM PS_G3SHARE_SEG_VW WHERE G3FORM_TYPE = 'form type';To avoid accidental data loss, review your form's configuration carefully before transport. If you have removed a shared object from a form, do one of the following to migrate:
- Before migrating the new form version that no longer has reference to the shared object, remove the same references from the form in each target environment as a manual migration task.
- After migration of the new form version that no longer has reference to the shared object, migrate a form that does still reference the shared object. This will cause the shared object to persist.
Note: GT recognizes that this functionality and workaround are not ideal. This design will be changing in an upcoming enhancement to the Form Transporter, which will enable more granular control over how shared objects are migrated -- or not migrated -- during form import.
The GT Form Transporter is used to export form configuration from a source environment and import the setup into a target environment. The process to migrate a form is fairly quick and painless. There are a couple steps for you to complete and a couple processes that will run to process your data.
Before you get started, we recommend that you setup your email on your user profile in both environments. As long as your email server is running in the environments, this will allow us to send you email notifications as various processes complete along the way.
Navigation
There are two ways you can navigate to the Form Transporter.
The first option is to use: Navigator > Manage GT eForms 3.x > GT Form Transporter
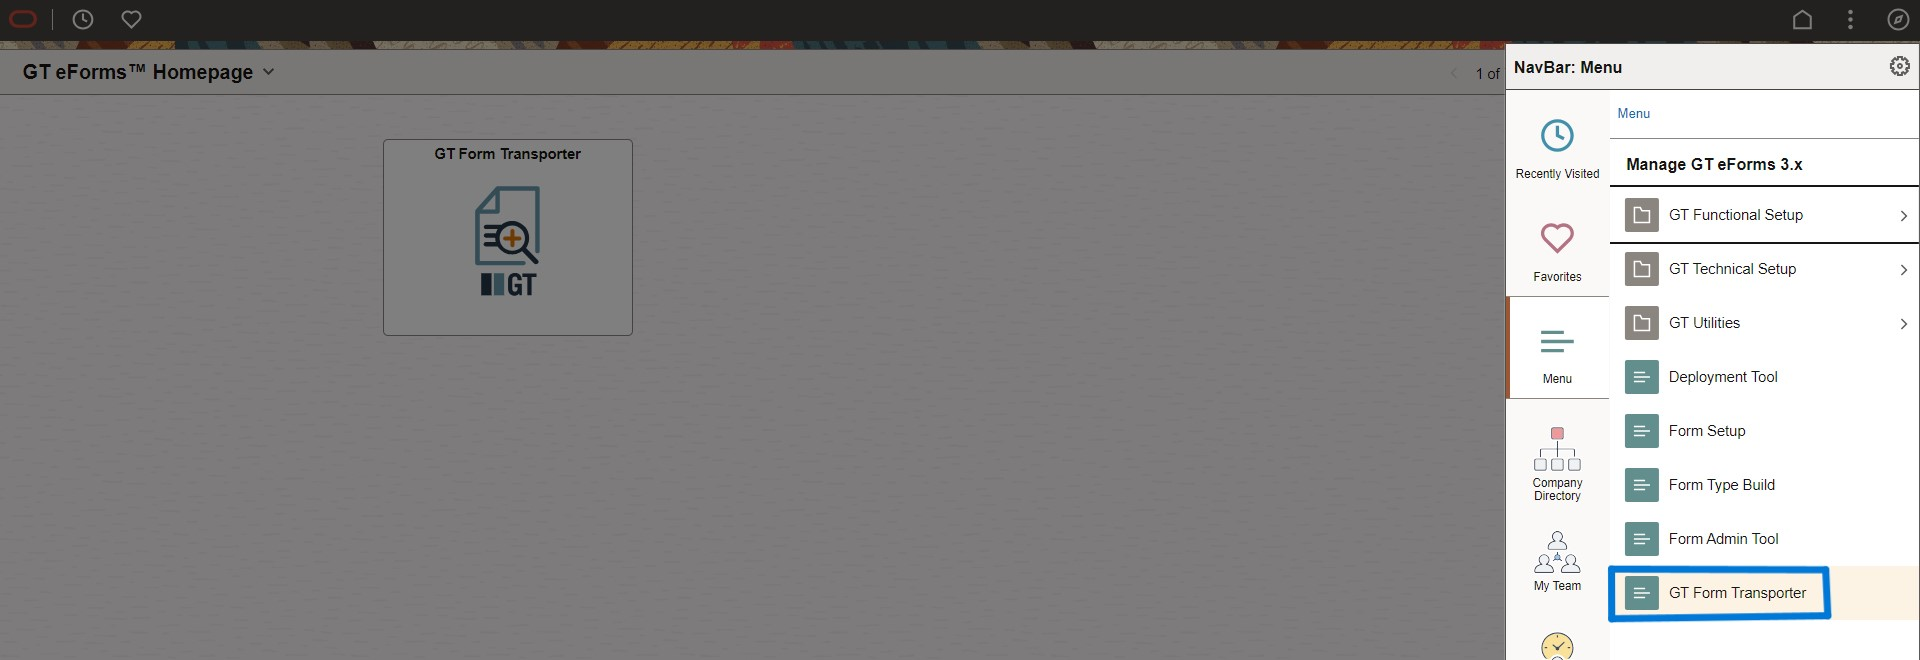
The second option is to access it through the GT eForms Homepage.
The Information screen will appear to guide you through the export or import process.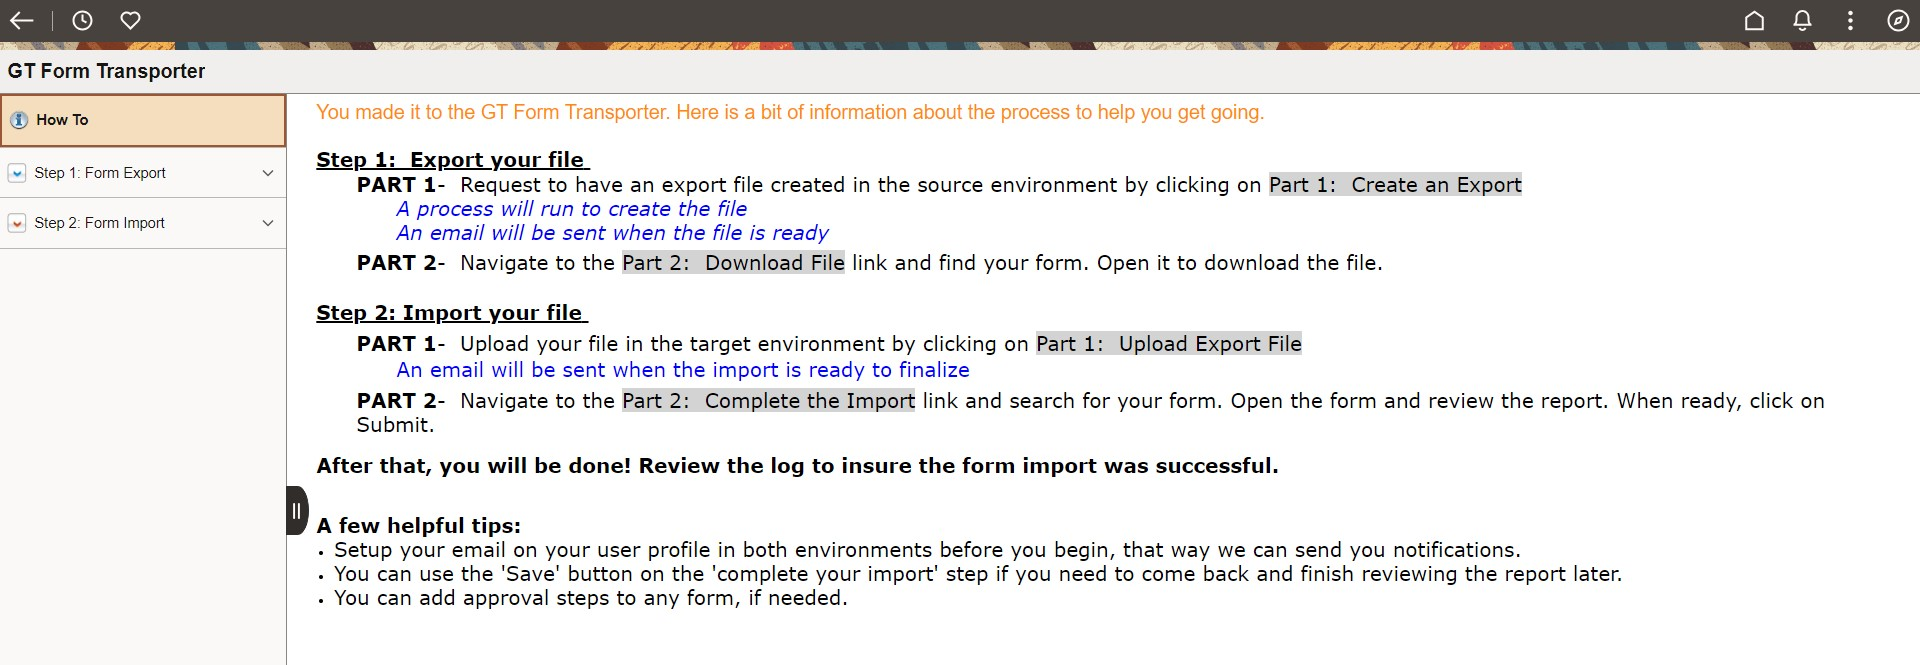
Step 1: Export your Form
The first thing you will need to do is export your configuration from the source environment. This is a two-part process.
PART 1 – Request to have an export file created in the source environment.
A process will run to create the file
An email will be sent when the file is ready
PART 2 – Download the export file.
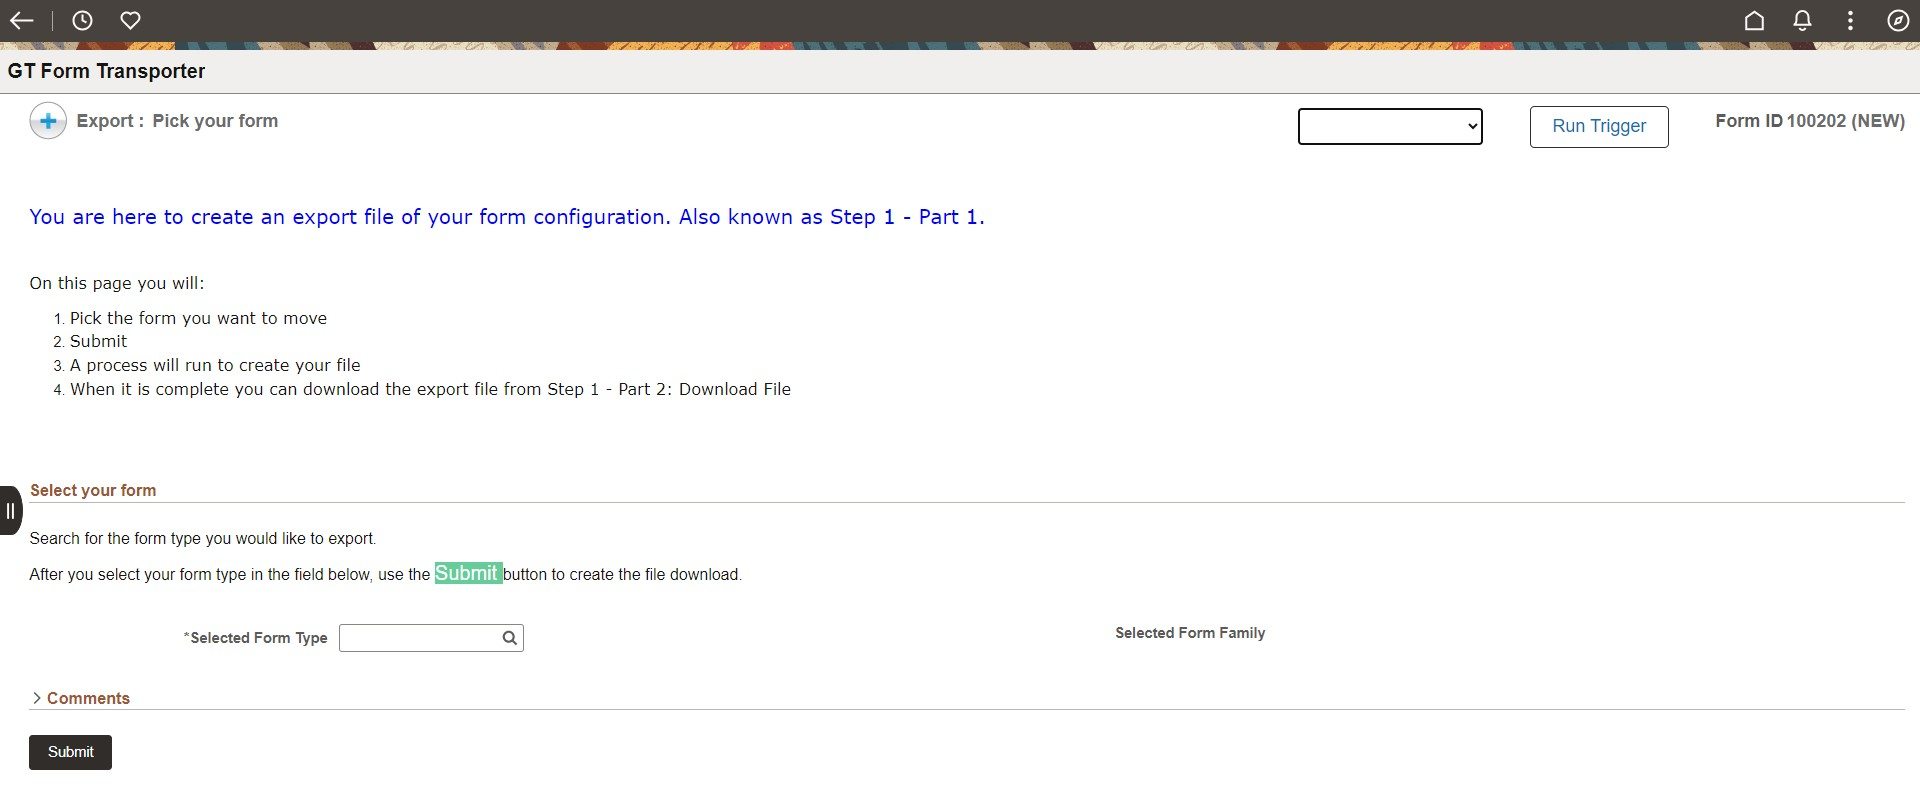
Part 1 – Request an Export of Form Type
1. Under Step 1: Form Export click on Part 1: Create an Export
2. Select the Form Type you would like to export
3. Submit the form - note your Form's ID number
4. A system process will start to generate your export file
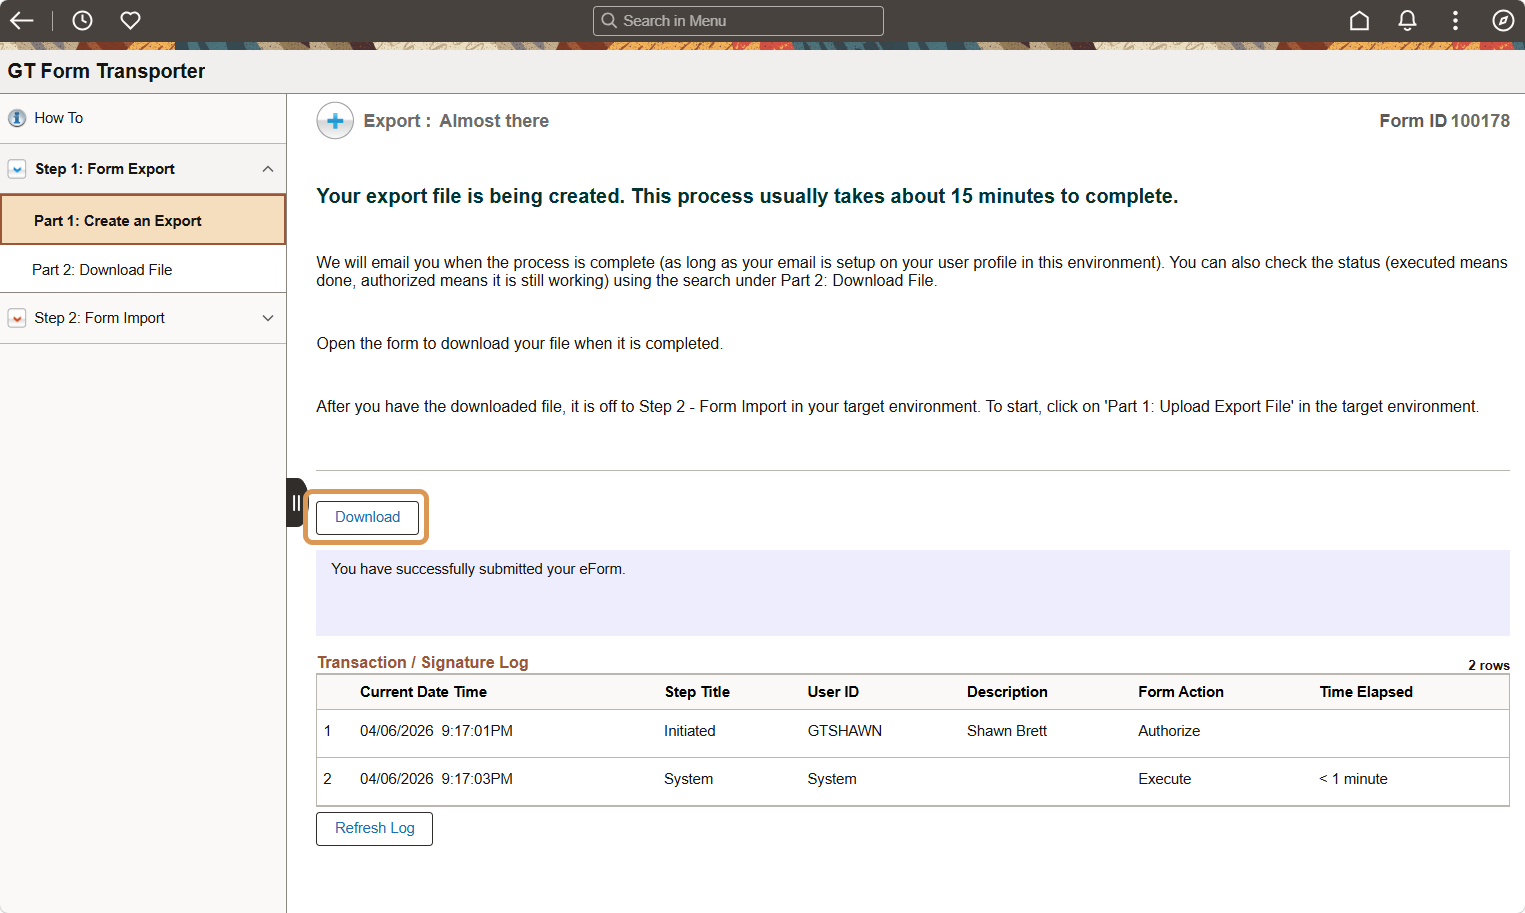
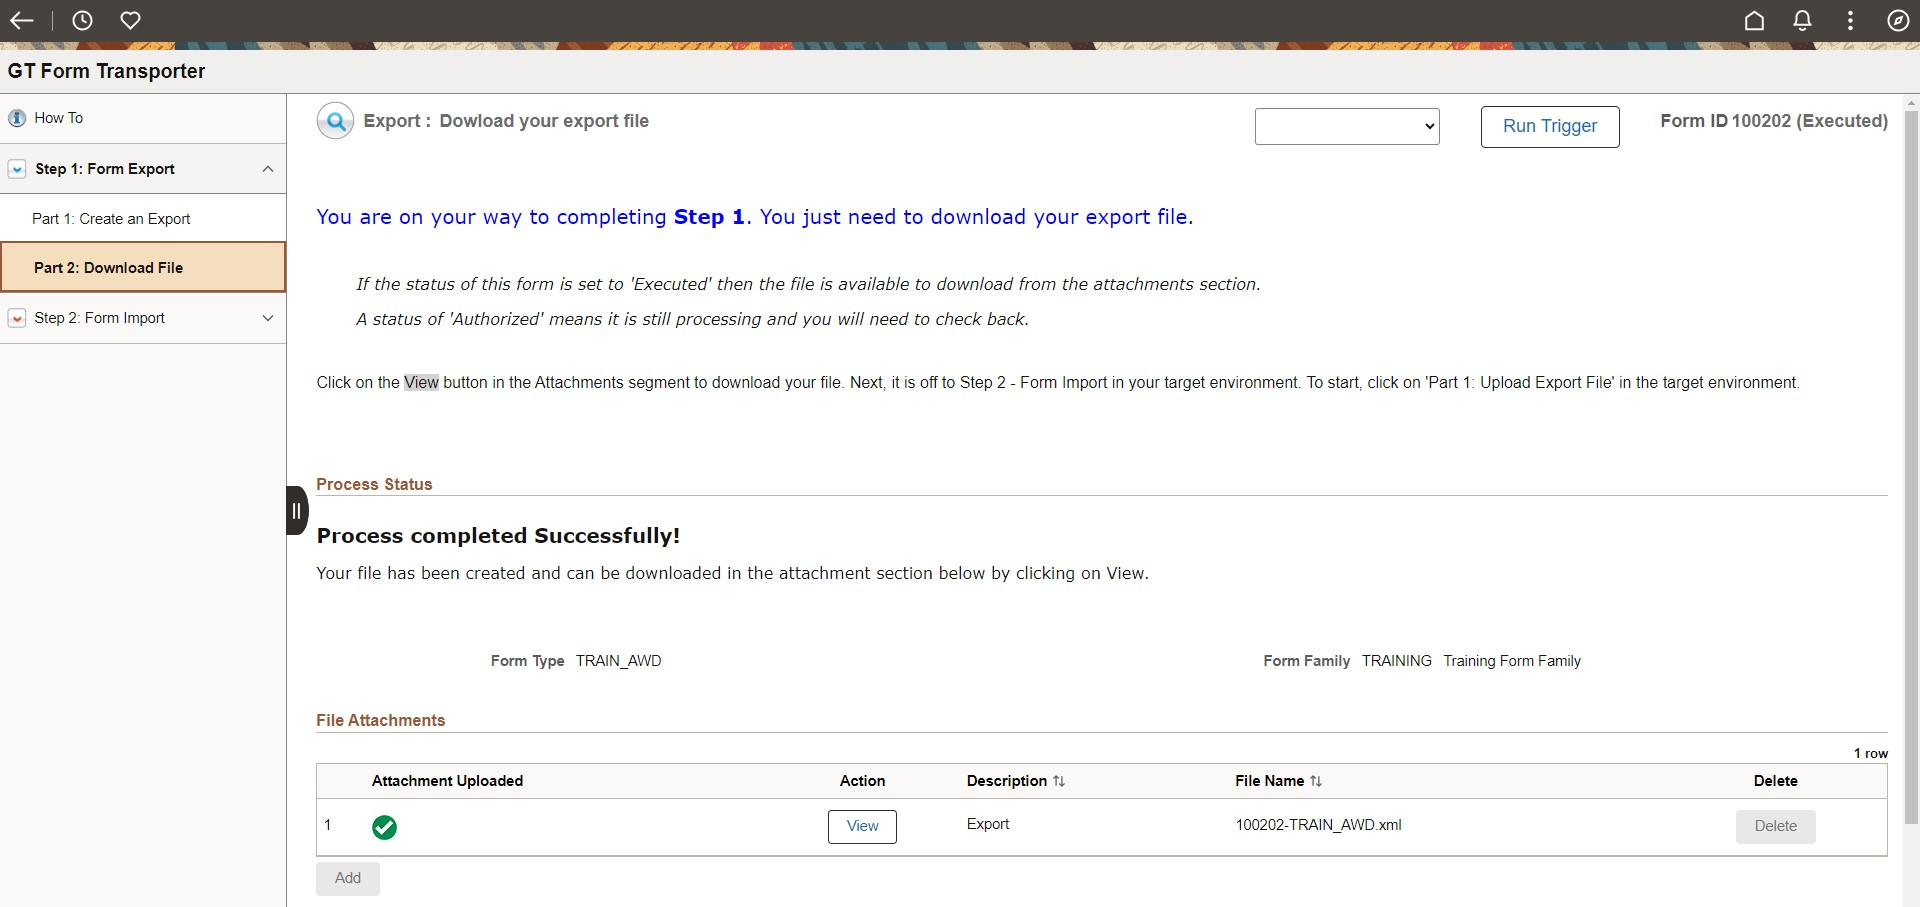
Part 2 – Download File
1. Click the 'Download' button above the Form Export Transaction log to access the download page and continue with step 4 below. Alternatively, you can navigate to the Part 2: Download File link
2. Search for your request
- A form status of Authorized means your file is still processing
- A form status of Executed means your file is ready for download
3. Open the form
4. Click on View to open the attached export file
5. Save the file in a safe spot so you can access it easily in Step 2
Step 2: Import your file
Now that you have your export, you are off to the next step. Open the target environment, navigate to the Form Transporter, and jump into Step 2. This is also a two-part process.
PART 1- Upload your file in the target environment
An email will be sent when the import is ready to finalize
PART 2- Navigate to the Part 2: Complete the Import link and search for your form. Open the form and click on Submit.**
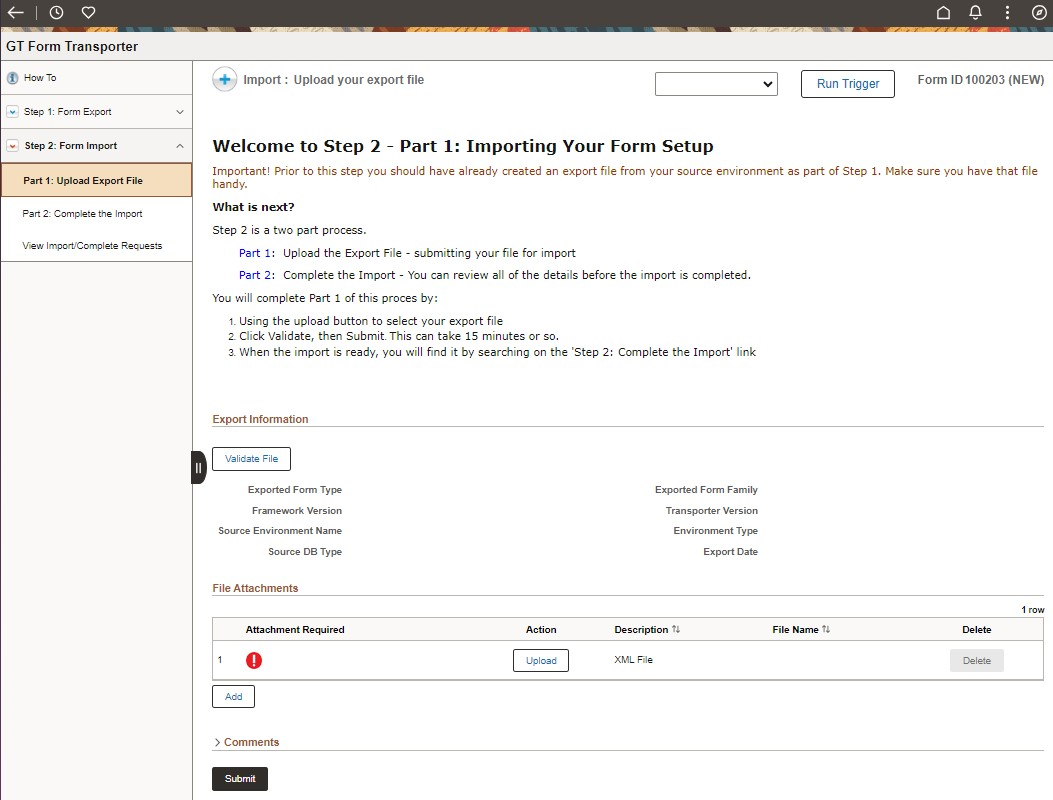
Part 1- Upload your file
1. Under Step 2: Form Import click on Part 1: Upload Export File
2. Upload your export file by clicking on upload
3. Submit the form
4. A system process will start to extract the XML.
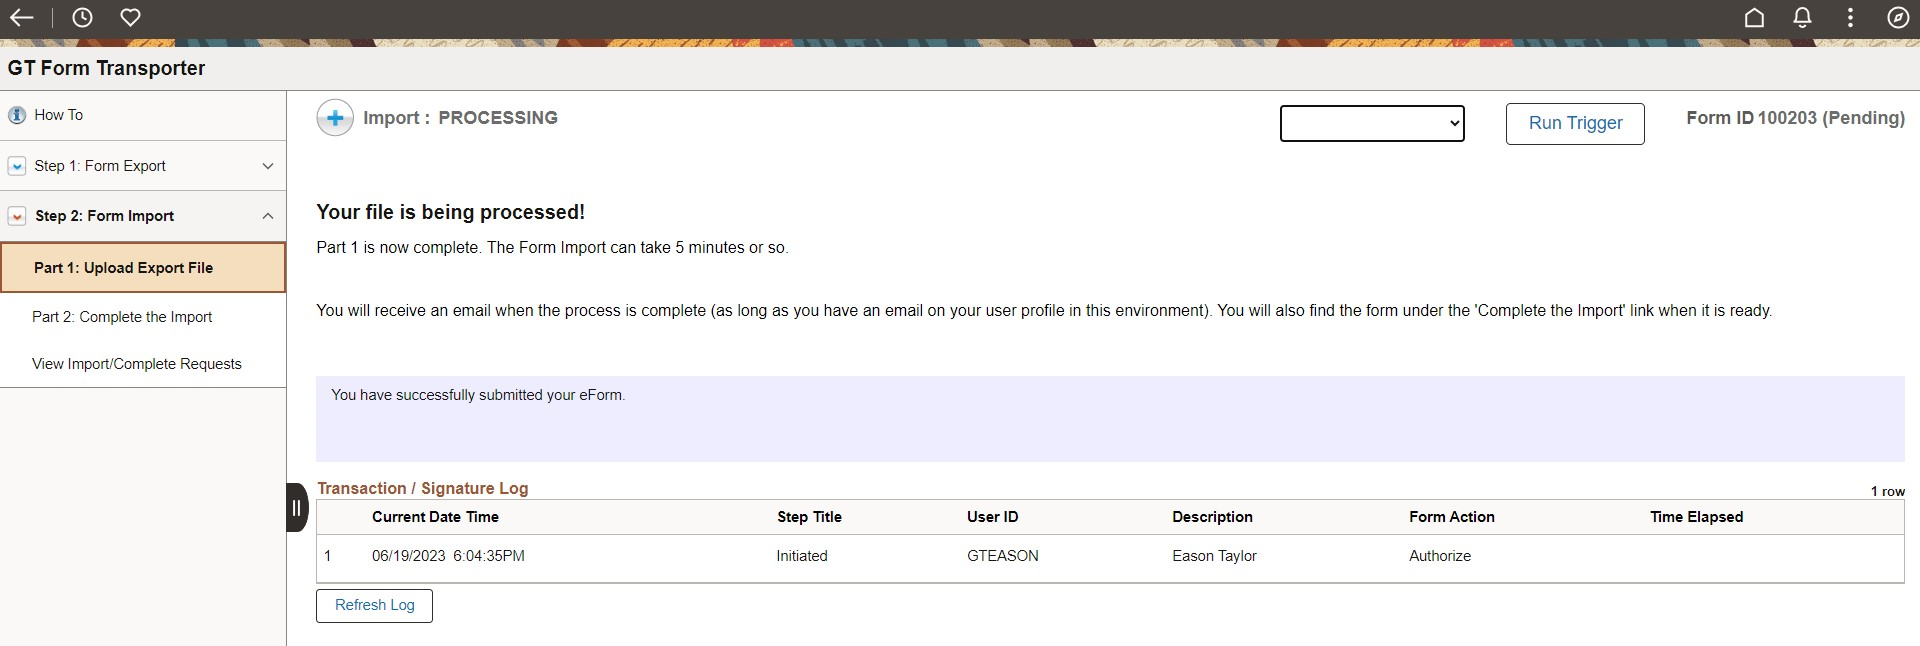
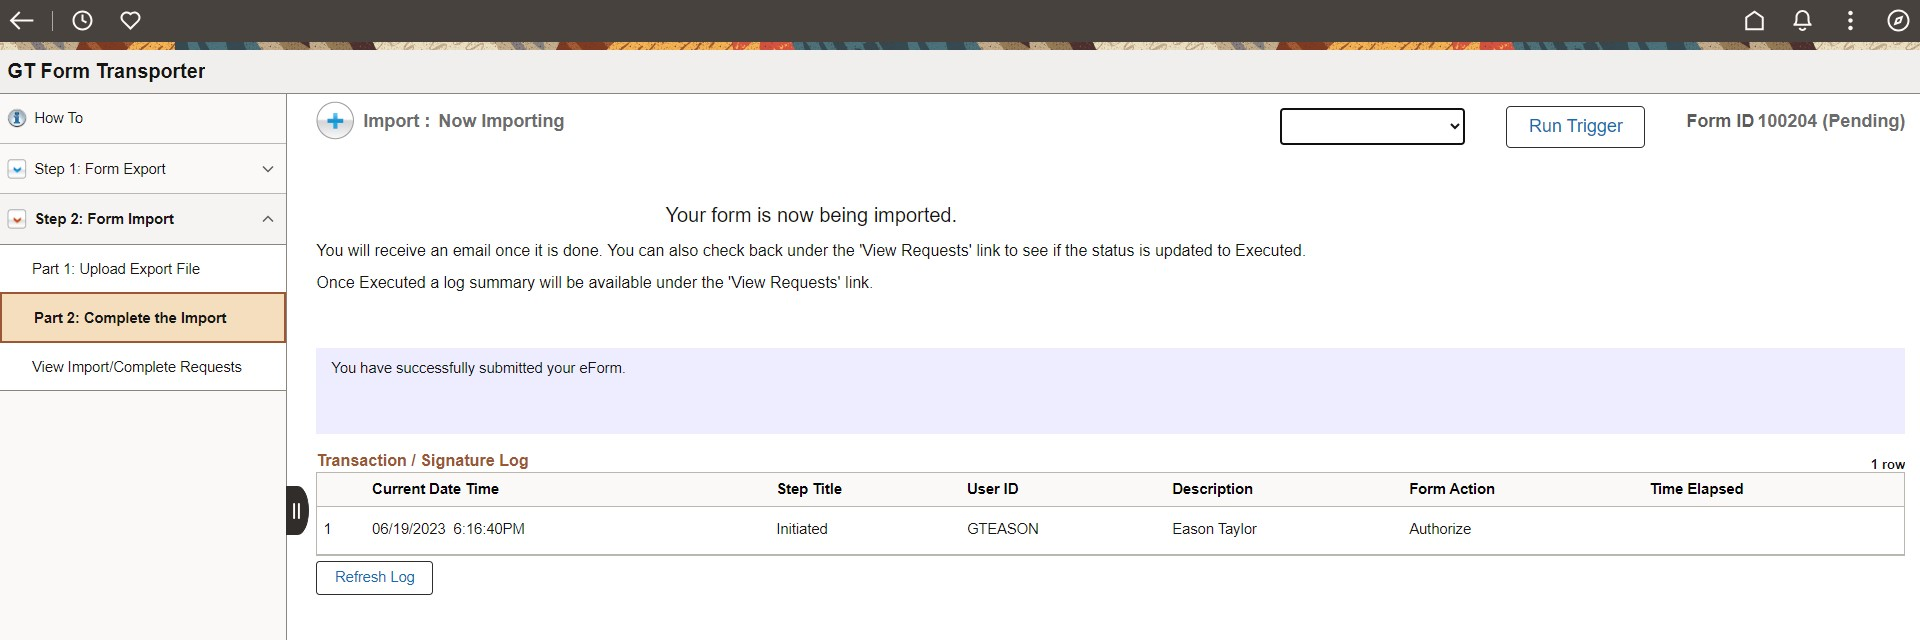
Part 2 – Complete the Import
1. Navigate to the Part 2: Complete the Import
2. Search for your request (If you do not see your request in the list then it is still processing)
You can check the status of your request by clicking on View Requests
- A form status of Authorized means your file is still processing
- A form status of Executed means your file is ready for download
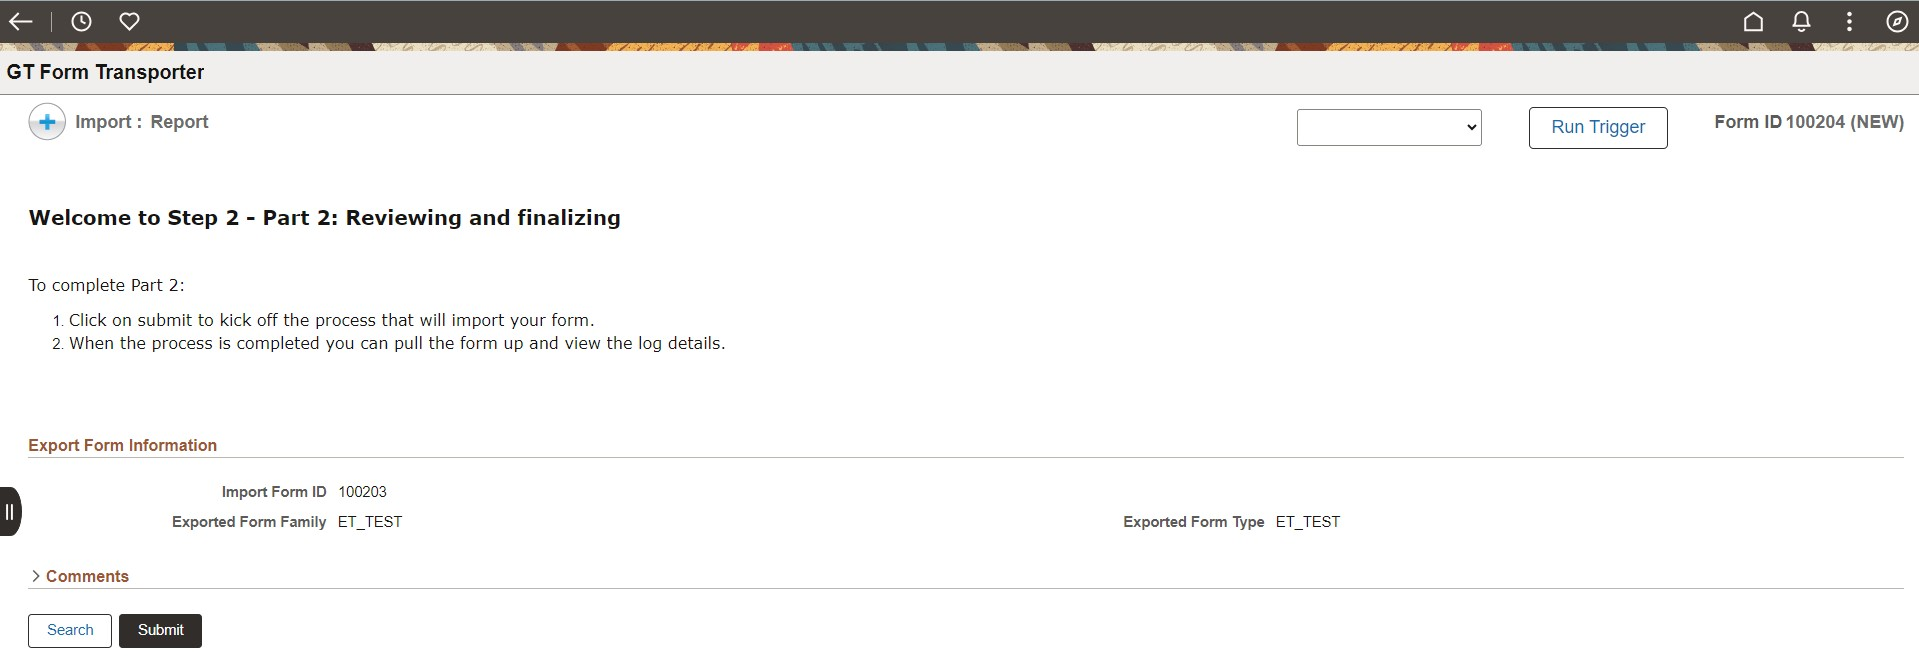
3. Open the form
4. Submit the form
5. A system process will start to import your form
6. Your work is done, now sit back and relax for a bit
- You can check the progress of the import under the 'View Requests' link to see if the status is updated to Executed.
7. Once Executed a log summary will be available under the 'View Requests' link if you want to check the details
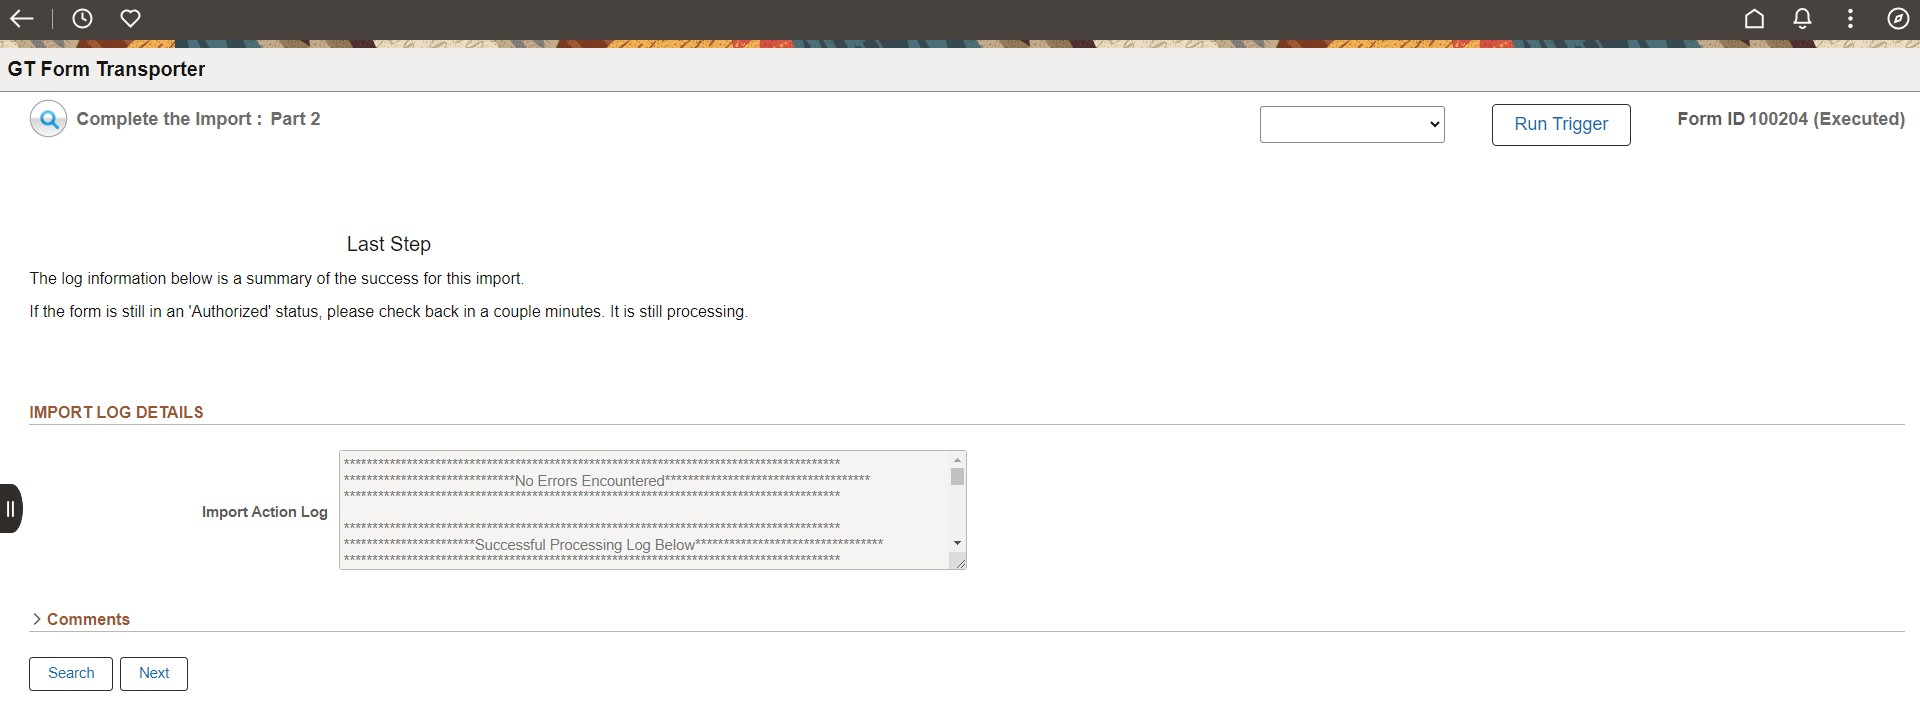 Opening the View task for the Complete Request will display an Import Action Log. This contains useful information about the import.